The Anycubic Photon Mono is a superb MSLA resin printer based on its specifications. This machine is one of the best LCD 3D printers on the market and one of the easiest to use thanks to quality-of-life features like the tilted build platform to avoid resin from pooling and the pour spout on the resin vat. The Photon Mono can print tall, intricate parts rapidly and offers a smooth print preparation experience with the integrated Photon Workshop software, with a per-layer cure time of roughly two seconds. Still, it truly shines when you consider the Anycubic Photon Mono price of roughly $230.
Design
The 405nm UV light source, which cures the liquid resin in the vat, is only partially hidden by the Photon Mono’s LCD, which has a resolution of 2560 x 1620. To maintain the LCD level with the top and to stop the resin from seeping into the machine, it is carefully taped to the upward-facing surface of the base. Compared to the Elegoo Mars 2 Pro’s solid metal base, the Photon Mono’s injection-molded plastic base felt a little less sturdy.
The build platform lowers onto the FEP film while the resin vat is rigidly held by a pair of simple-to-tighten thumbscrews clamping into a recessed circular feature.
A threaded rod that travels along the Z axis and is held rigid by a linear bearing is used to control the Z motion. The build platform is hung by what looks to be a solid aluminum arm that feels sturdy and exhibits little bend while printing. This results in a more dependable printer since the build platform creates a clean separation from the FEP film on the vat after each layer is exposed.
Users might be surprised by a few features of the resin vat itself, but they are welcome deviations from the standard featureless rectangular vat. For one, the vat has a graded volume legend etched right onto the walls, enabling you to estimate the volume of resin in the container quickly. It also includes a pour spout (and a lip) on one corner, making pouring resin much cleaner than with a hard edge where the liquid will run over and land on the FEP film’s underside.
Unlike other resin 3D printers, for example, the Elegoo Mars 2 Pro, the FEP film cannot be replaced with a generic alternative and requires a patented FEP film that Anycubic sells as a pair for $11.99. This is a fair price for the replacement, but if you use the machine frequently, you might want to keep a few replacements on hand. Additionally, if Anycubic stops producing them, your printer can cease to be useful.
Specifications
- Machine Footprint: 9.8″ x 9.8″ x 12.9″ (24.9cm x 24.9cm x 32.8cm)
- Build Volume: 5.11″ x 3.14″ x 6.49″ (130mm x 80mm x 165mm)
- Resin: DLP Photopolymer Resin
- UV Light: 405nm Matrix Parallel Light Source
- Masking LCD Resolution: 2560 x 1620
- Masking LCD Size: 6.08″
- Interface: 2.8″ LCD Touchscreen
- XY Axis Resolution: .051mm
Setup
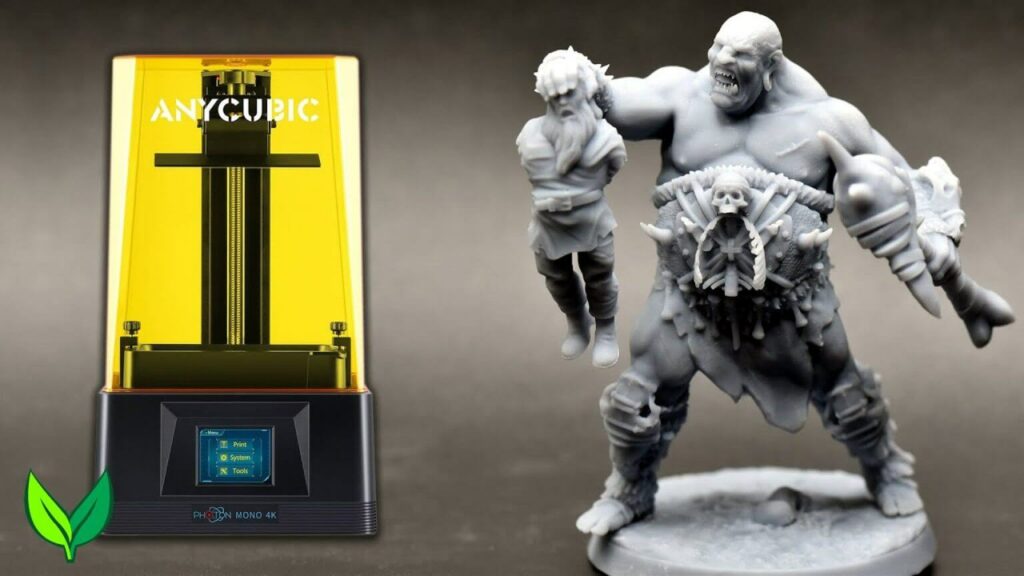
The Photon Mono’s setup is fast, easy, and suitable for beginners. The included power supply plugs into the rear of the unit, the build platform and vat can all take well under an hour to calibrate and fill, respectively, and the transparent yellow UV-resistant cover sits flush on top of the base.
A well-written and easy-to-follow user handbook are included in the machine, and users will have no problem setting up the machine while following the manual.
Leveling the Build Platform
To ensure that the layers are exposed uniformly as they are cured using the Anycubic Photon Mono LCD 3D Printer, you must level the build platform with the masked LCD. In order to compensate for the FEP film at the bottom of the vat that is present during printing, the build platform also needs a minimal offset.
Anycubic has included a sheet of paper with the Photon Mono that may be used to protect the LCD and provide a slight offset while leveling, allowing for the completion of both tasks in one step.
Printing Safety with Anycubic Photon Mono
The 405nm UV resin the Photon Mono uses must be handled carefully while still uncured to prevent harm. When pouring, cleaning up, or handling uncured resin, use gloves because the substance can be harmful if it comes into close contact with the skin. The Photon Mono’s build platform has a triangular design that allows any resin on top to flow down gradually while printing. When removing the build platform after a print, be sure to wear gloves, as the resin has a tendency to collect on top of the platform and can drip off while the platform is being removed.
To reduce the risk of inhaling fumes, use the Photon Mono in a well-ventilated space. Any spills or uncured resin that has become stuck to a surface should be cleaned with 99% isopropyl alcohol. The resin container should be kept closed and secured when not actively pouring material.
Preparing Files for Printing with Photon Workshop
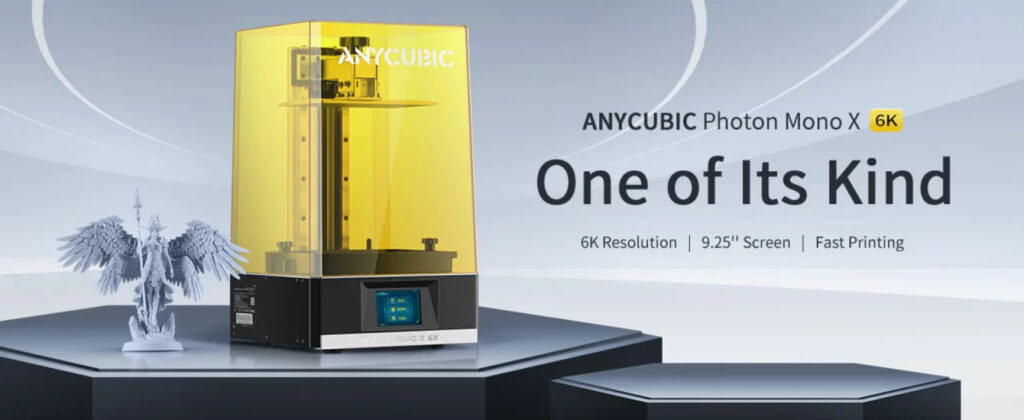
To prepare STL files for resin printing with this Photon Mono, Photon Mono X, and other Anycubic SLA 3D printers, Anycubic provides their Photon Workshop software. The print workflow was arranged logically at the top of the software (import model, hollow, add drain holes), which sped up and simplified the file preparation procedure.
When you choose a printer configuration in Photon Workshop, the exposure time and other relevant settings are immediately changed to the printer’s defaults. These settings worked nicely with the Elegoo Ceramic Gray Water Washable resin and were no need to modify the exposure time.
Photon Workshop exports a pwmo file that is readable by both the Photon Mono and Photon Workshop once a model has been created and sliced for printing. You can check which pixels will be exposed on the LCD panel by opening the file, which displays a layer-by-layer print preview. If you want to change the settings for a different resin, you can directly alter the layer parameters (exposure, Z lift, etc.), which are also provided. You can add resin to your vat if it starts to run low because the entire amount of resin utilized is indicated at the bottom.
