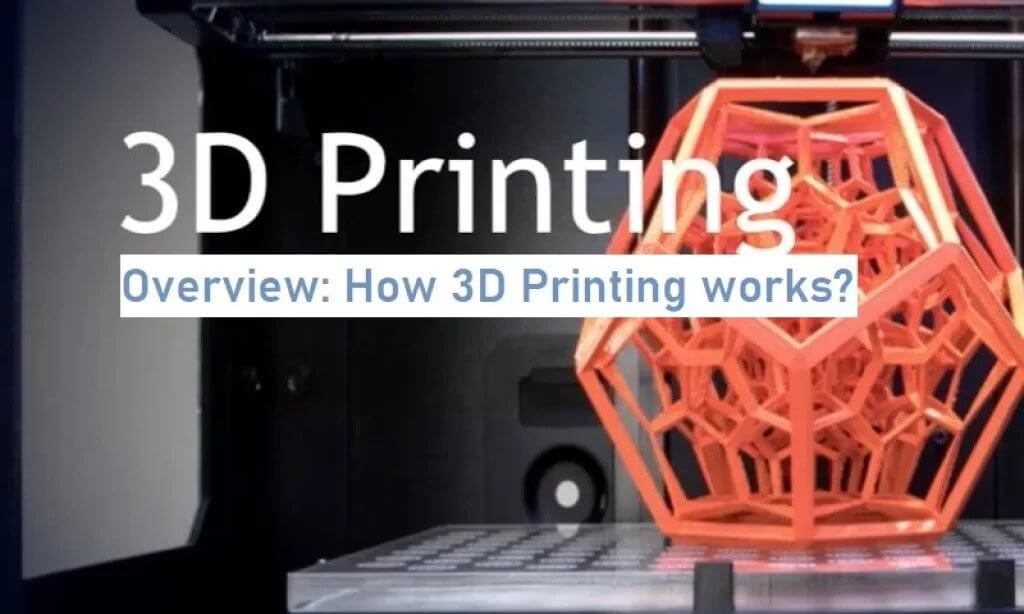
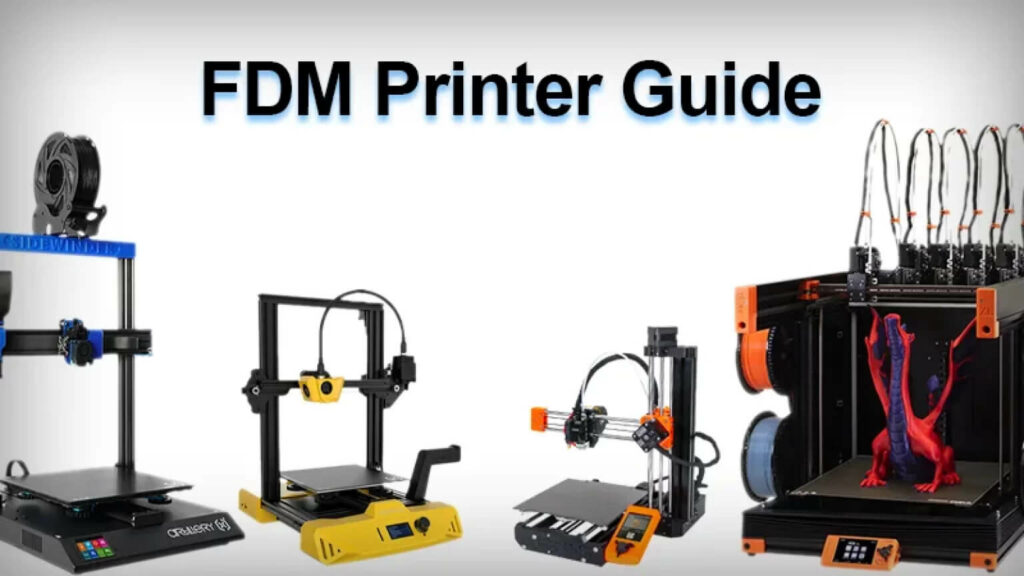
Many people out there wonder how FDM 3D Printing works. Well, I’m glad to inform you you are at the right place.
In the same way as other forms of 3D printing, FDM uses a digital design that is uploaded to the 3D printer. ABS, PETG, PEI, and PEEK are just a few of the polymers used. These take the form of plastic threads that are fed through a nozzle from a coil. The filaments are melted and fed onto the build platform or the table, including the base and the nozzle, both controlled by a computer. The computer works by translating the object and its dimension into coordinates that make it possible for the nozzle and base to follow.
The plastic cools off and solidifies as the nozzle moves across the base, forming a solid bond with the previous layer. The printhead is raised at this point to lay the next layer of plastic. 3D printing is efficient and fast, but the time it takes to make an object is dependent on its size. Smaller objects with a cubic volume of a few cubic inches can be made quickly, but larger, more complex objects take longer.
What is Fused Deposition Modeling (FDM)?
What is FDM? This is a question that some still struggle to have answers to as they do not know the whole essence of FDM
Fused Deposition Modeling (FDM) is a type of additive manufacturing technology that uses a computer-aided or driven manufacturing process to create three-dimensional objects, prototypes, and products. A layered or additive approach is used in 3-D printing or the design of solid models and prototypes. FDM is also known as fused filament fabrication or fused deposition method.
FDM is primarily a rapid prototyping technique that allows for the development of prototypes and small functional components quickly, cleanly, and cost-effectively. It works by feeding a CAD/CAM-based design diagram to an FDM system. The system sends design-specific commands to a controller head, which controls the release of melted thermoplastic. Based on specific design coordinates, this process is repeated layer by layer. As soon as the molten material is exposed to a cooler environment, it solidifies.
Fused Deposition Modeling (FDM) is trademarked by Stratasys Inc., a leader in building FMD-based 3-D printers.
How to Setup an FDM 3D Printer
FDM 3D Printer setup could be mentally tasking and challenging, but this article will address the easy way to set up and how to level the printing bed on an FDM 3D printer.
It is critical to level the printer bed because this determines the distance between the nozzle and the print bed and ensures that this distance remains constant regardless of where the nozzle is over the bed. This will ensure that the print adheres well to the bed and improve overall prints. Because most FDM 3D printers are very similar, this process will work for them all.
Step by Step Procedure:
- Power the 3D printer on and home the printing head: Homing the printer head is usually an option in the control panel.
- Disable the stepper motors. This is also an option in the control panel.
- Lower all adjustment screws for the print bed to the lowest position: These screws are located on the bottom of the printer bed.
- Move the printer nozzle above one adjustment screw: The printing head will be able to move freely by pushing it around because the stepper motors that move it are disabled. Because the printer head must remain at the printer’s known 0 height, ensure you do not move it up or down.
- Place a sheet of paper on the print bed under the nozzle: This will ensure that the printer is level and that enough space is available for printing.
- Turn the adjustment screw to raise the bed until the paper has slight resistance against the printer nozzle: Use your hand to slide the piece of paper back and forth until there is a slight resistance. Be sure not to rest your hand when doing this, as this will affect the height of the printer bed or nozzle and will affect the bed level process.
- Repeat this process for all adjustment screws. Once this is done, the printer bed should be level.
- Verify that the bed level is correct by printing a test print: Print either a bed leveling test print or the first layer of an existing print file. Examine the layers to ensure that the process was completed correctly. The print bed is too far away from the nozzle and needs to be raised if the lines do not mesh together. The nozzle is too close to the print bed, and the bed needs to be lowered if the print lines are very thin and transparent.


